5 Reasons to make the jump to Viz Engine 5

What’s stopping you from making the jump to Viz Engine 5?

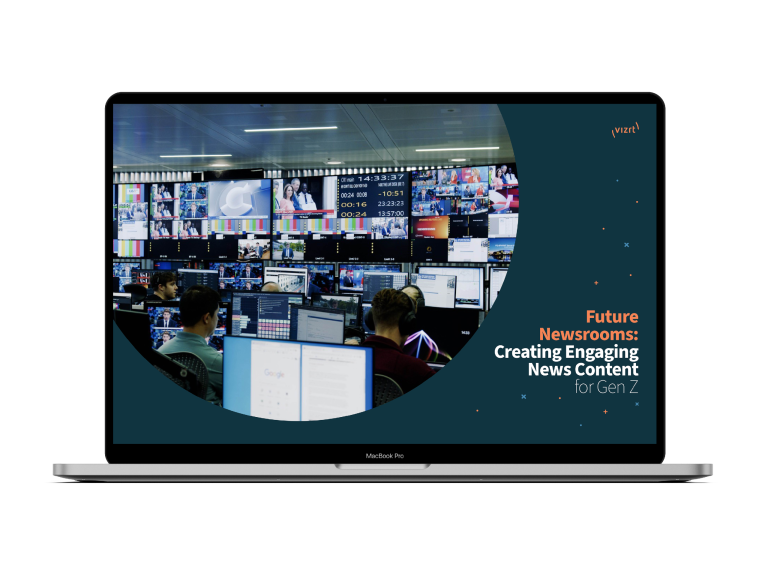
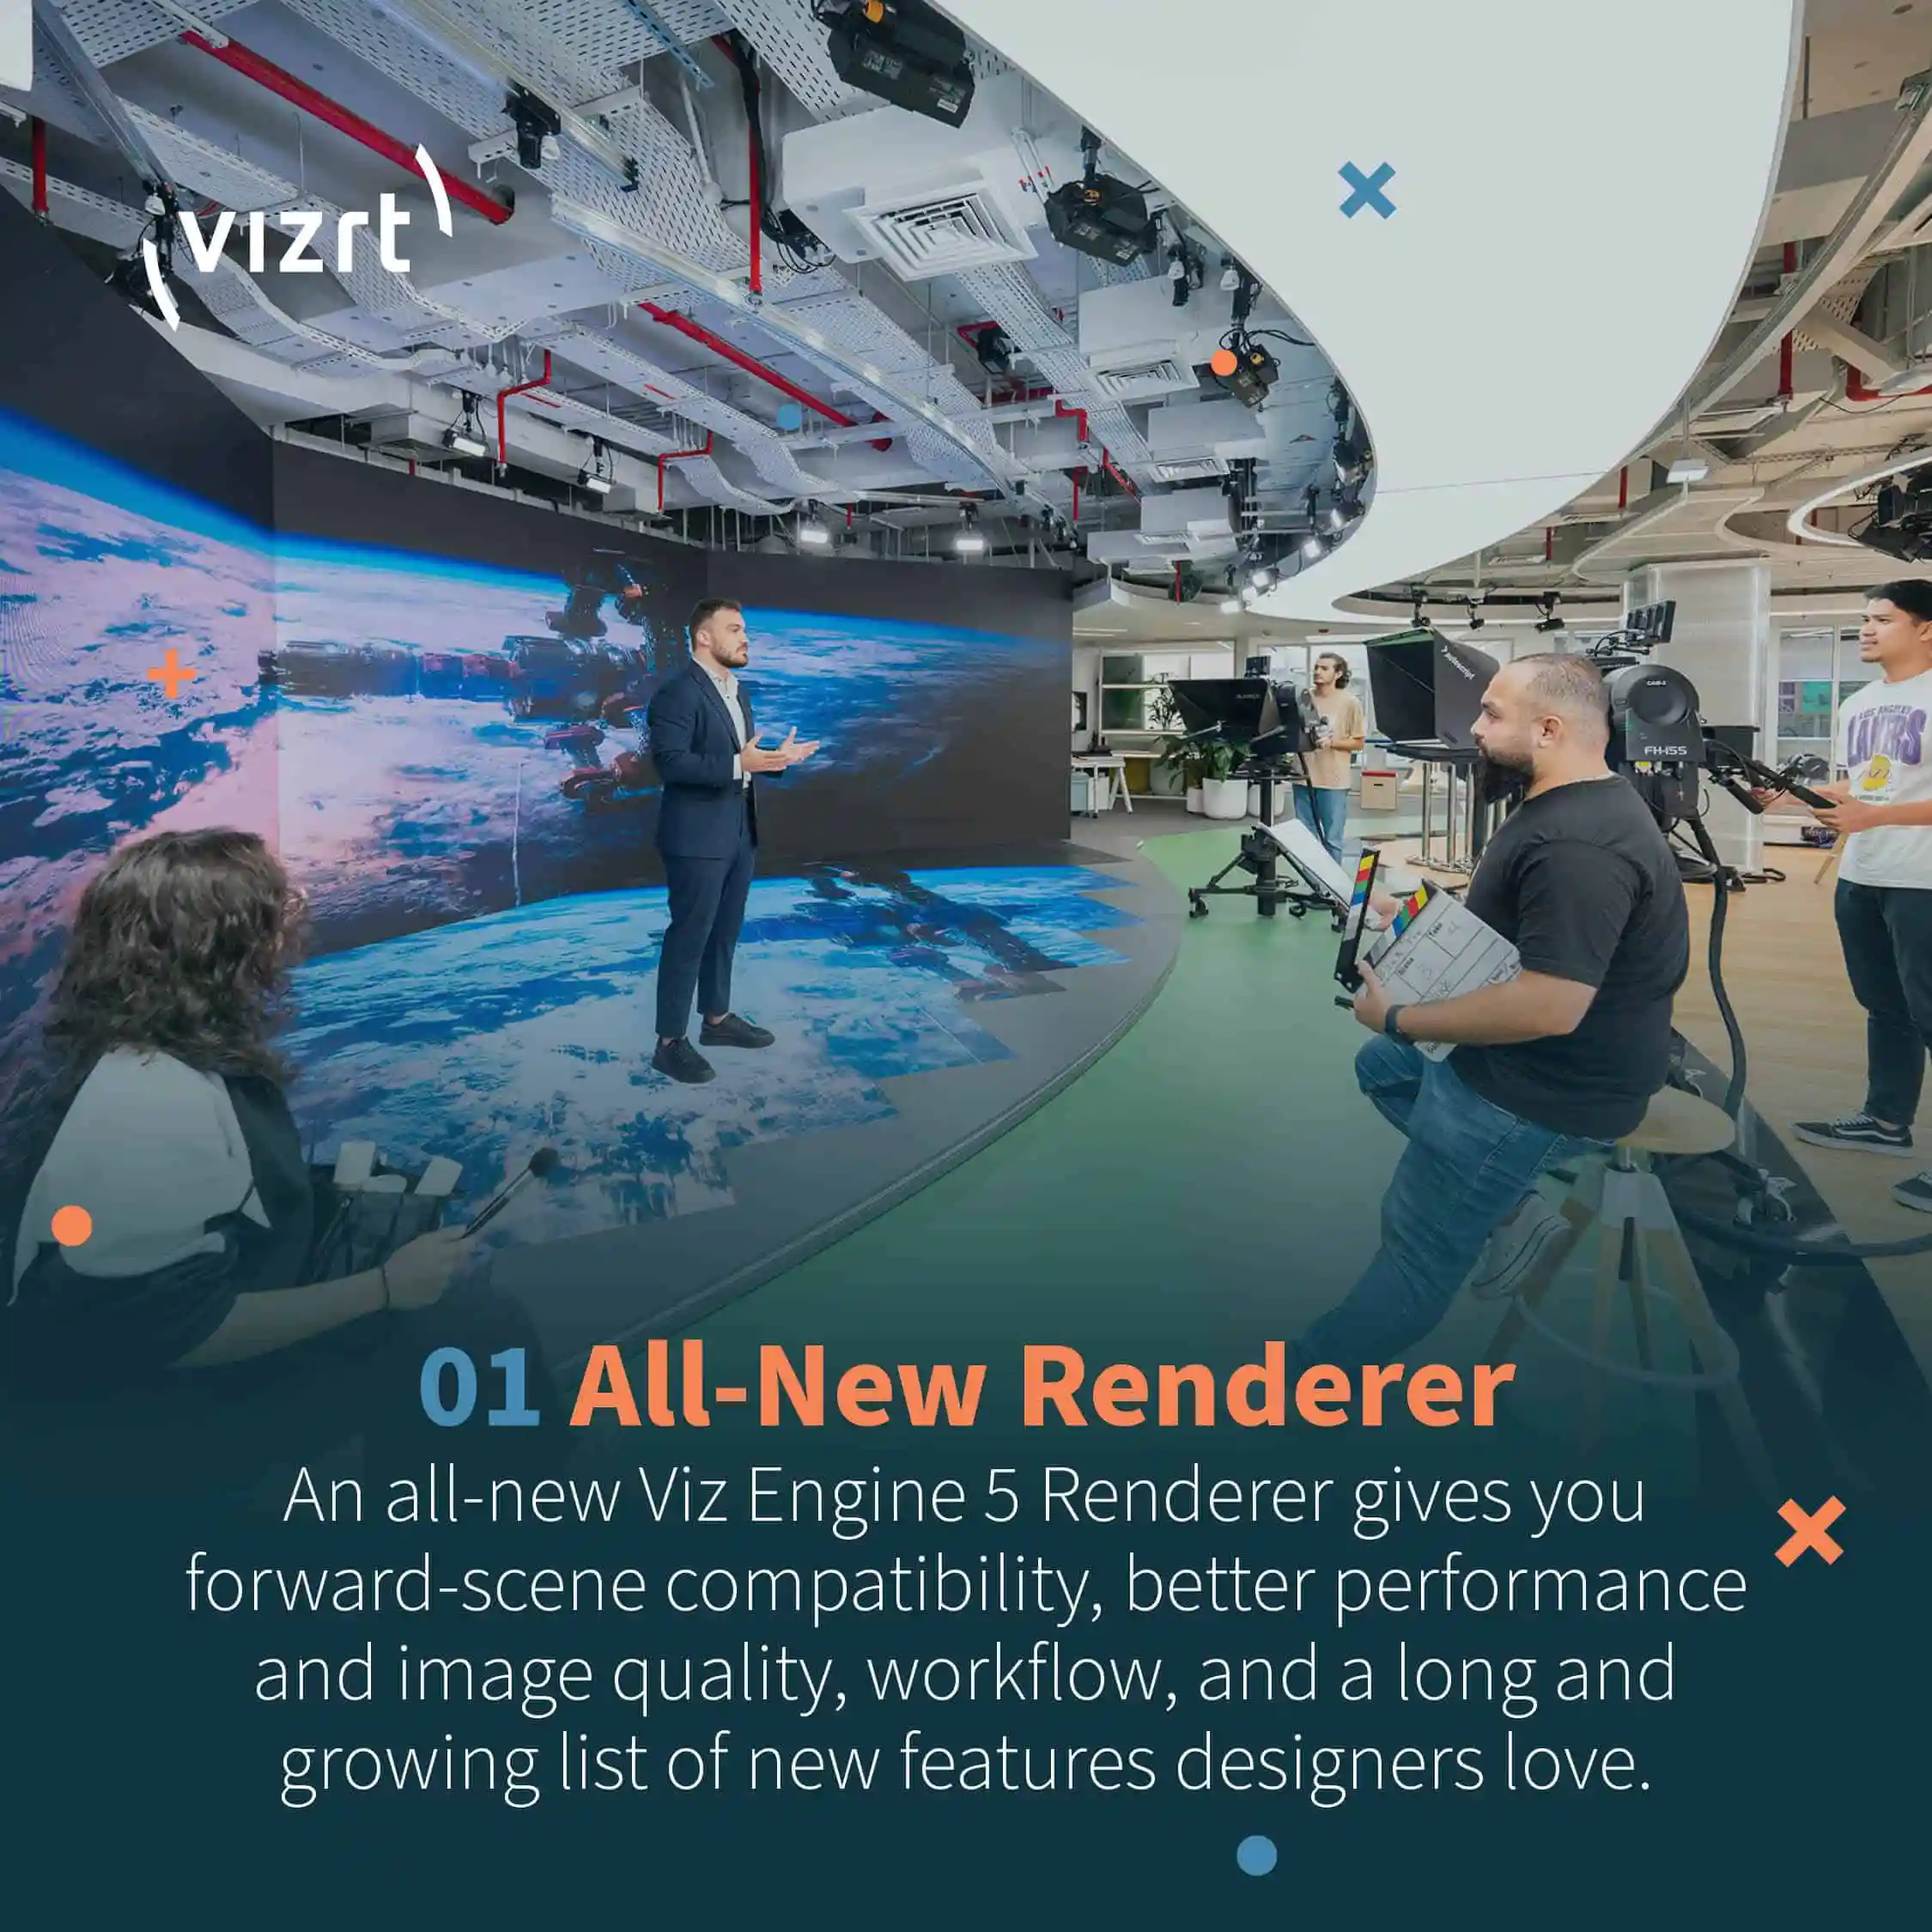
Viz Engine 5 revolutionizes the creative landscape by empowering content producers and designers to tell a better story through stunning graphics and immersive worlds. Serving as the fundamental backbone of cutting-edge graphics and live production workflows, Viz Engine 5 unleashes the full potential of today’s most advanced and efficient creative processes.

With the world’s most powerful real-time rendering and compositing engine at their disposal, creators transcend boundaries and bring to life entirely new realms of imagination.

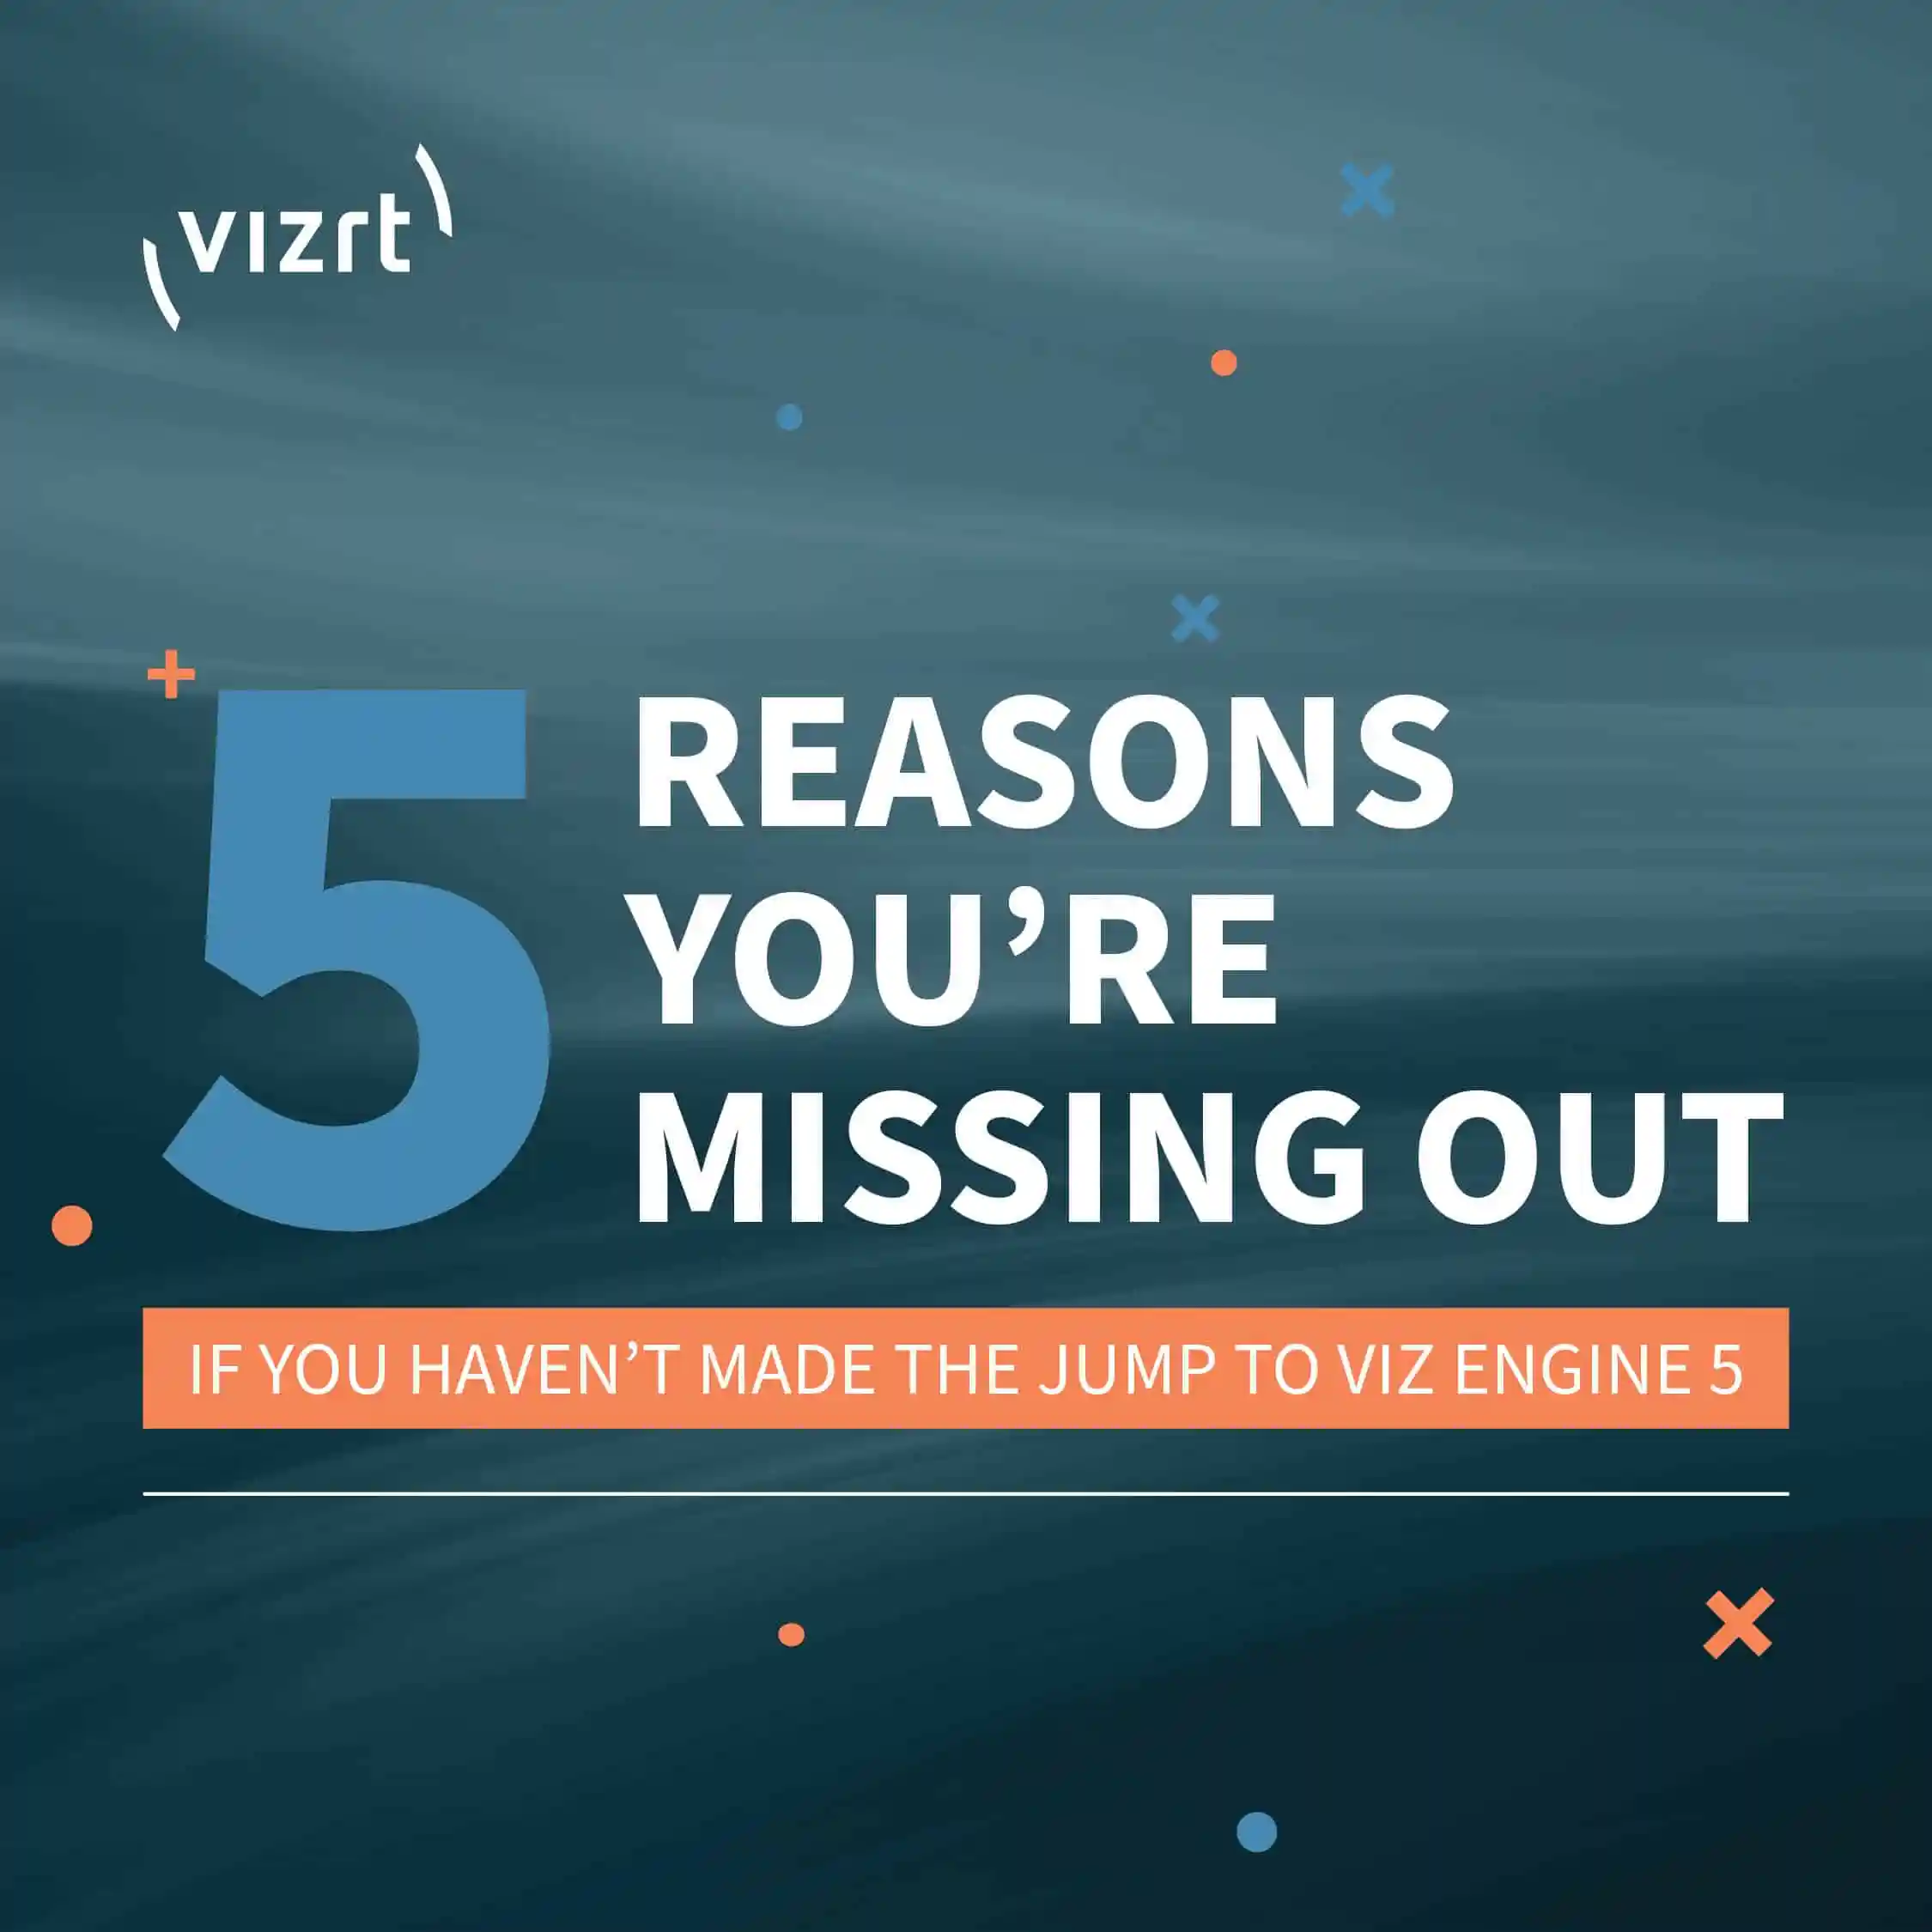
Don’t be left behind. Whether you’re currently using version 3 or 4, or perhaps relying on a competing product, it’s crucial to keep reading and discover the compelling reasons why making the jump to Viz Engine 5 is an absolute necessity.

hover to pause
tap to pause

In this brief report, you’ll discover:

  • How to dramatically improve the efficiency of producing graphics across different devices and aspect ratios
  • Why you’ll want to upgrade to Viz Engine 5 to improve the performance of your other Vizrt tools
  • How to achieve photo-real lighting and cinematic depth in your graphics
  • The best way to unify branding and ensure graphics quality in a time of fractured content consumption
  • What’s speeding up graphics production to make it faster and more efficient than what was previously thought possible

This report will outline how the new Viz Engine 5 has revolutionized live graphics. Don’t be le behind. If you’re using version 3 or 4 – or you use a competitor’s product – keep reading to find out why you need to make the jump to Viz Engine 5.

Download our eBook 5 Reasons You’re Missing Out If You Haven’t Made the Jump to Viz Engine 5. Discover how this powerful tool can revolutionize your workflows, deliver stunning visuals, and keep you ahead of the competition. Don’t let outdated technology hold you back—download now and see what Viz Engine 5 can do for you!

Don’t worry, this section is already hidden =)

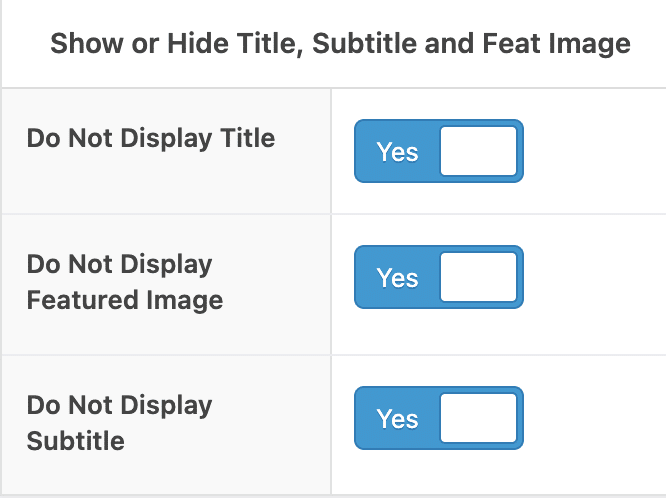
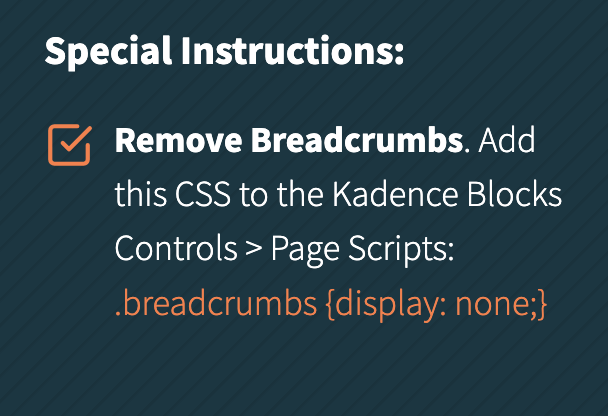
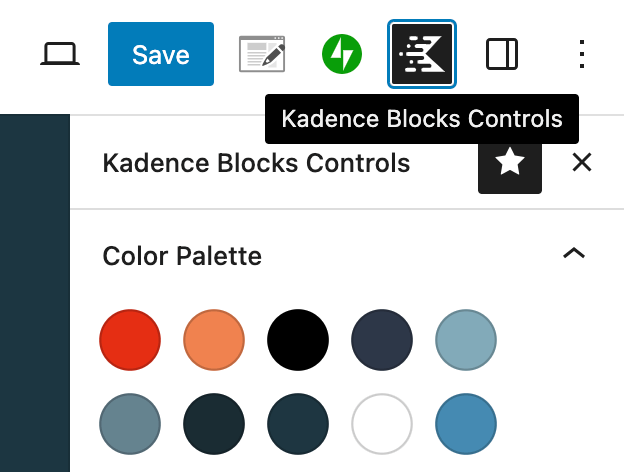
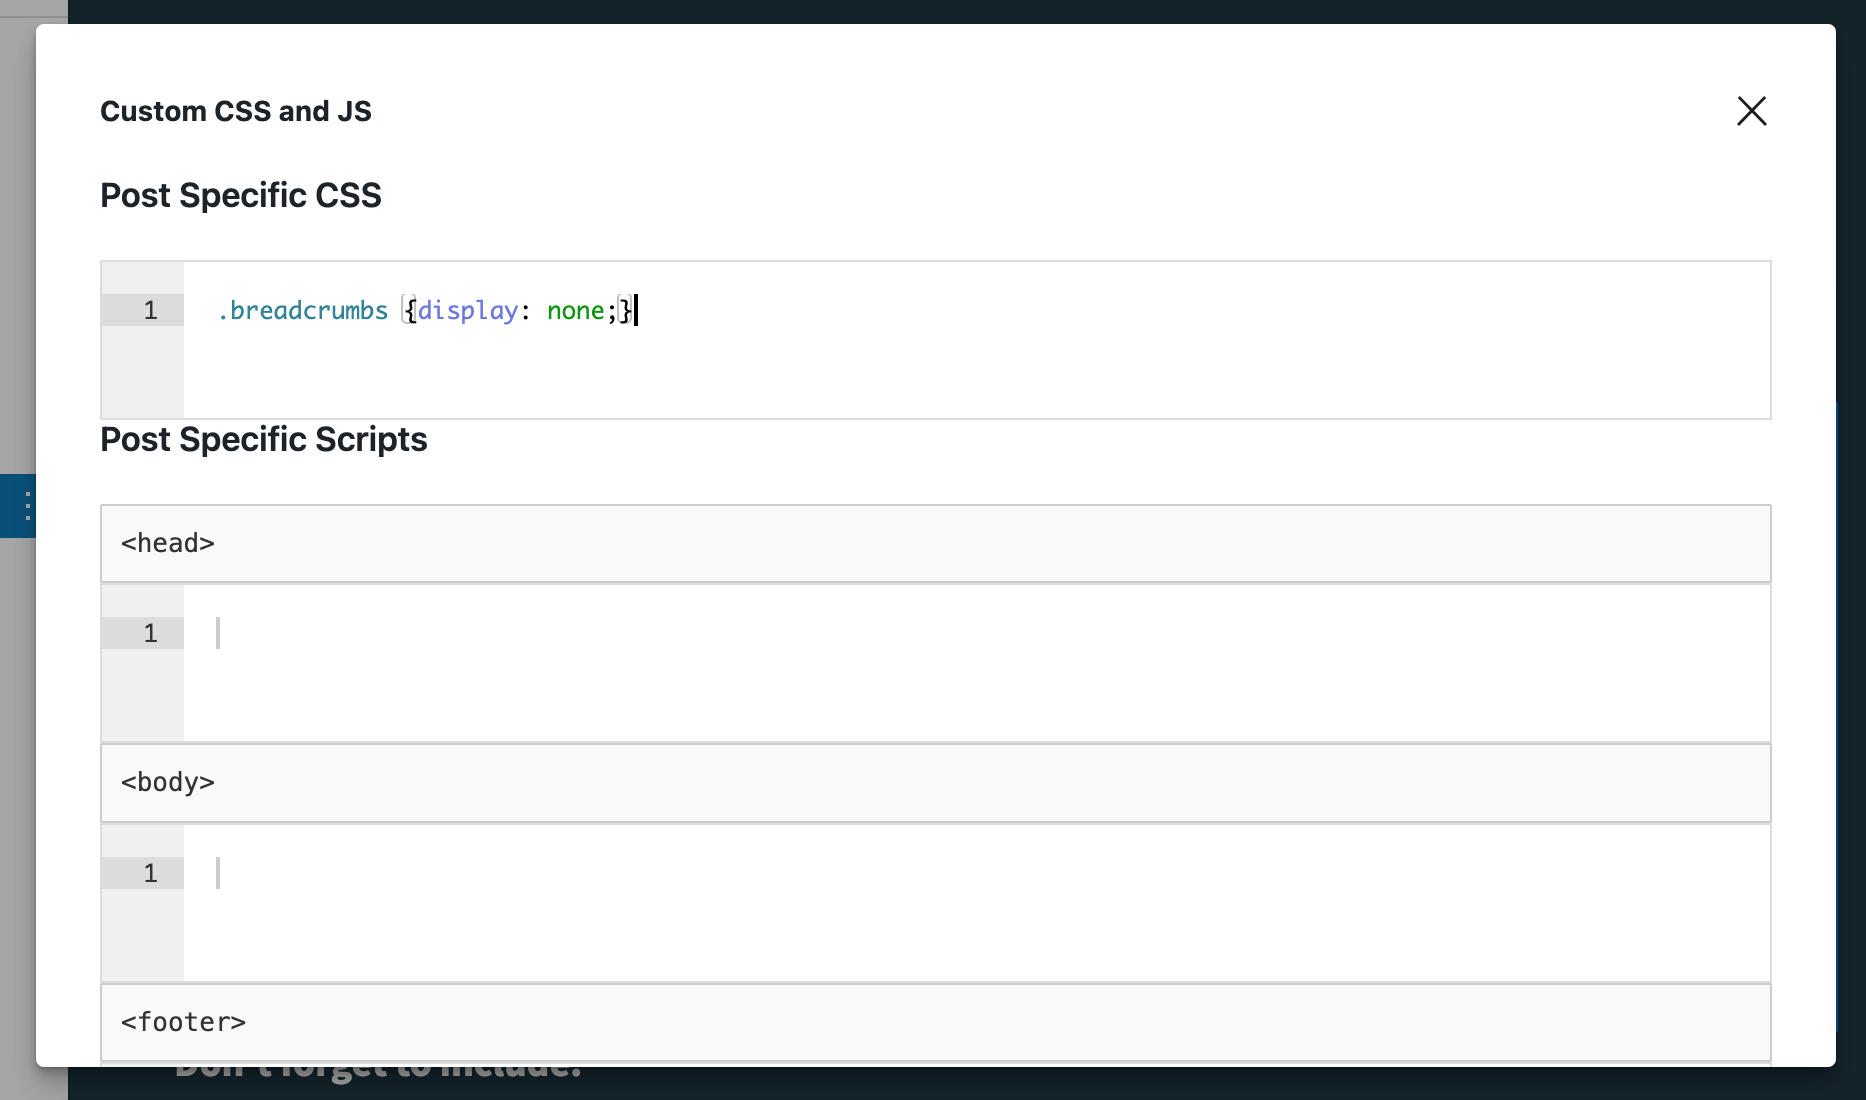
Don’t forget to include:
  • 1. Document Overview list view is handy to have open so you can see labeled areas indicating where some edits can be made
  • 2. Slug is the URL. Once you save a draft with a page title, it defaults to that unless you edit it. Editing the slug URL to be more concise is a benefit at times.
  • 3. Meta Description is an SEO-friendly description.
  • 4. Keyphrase Synonyms is where the bulk of your keywords will go. Separate each keyword or phrase with a comma. These are all supporting keywords to the Main Keyphrase (see item #7).
  • 5. Featured image: This is part of the meta-data and auto-populates any query card image on hub pages. Page Titles and Subheadings are also elements needed to populate query cards and metadata.
  • 6. Excerpt This auto-populates on query card text. If left empty, it will default to the first bit of text on the page. This can be the same as the Meta description.
  • 7. Focus Keyphrase is the main Keyword. The inputs for this and the supporting keywords are in slightly separate areas, making it a little confusing.
Special Instructions:
  • Don’t forget any Pardot form or ebook links needed for buttons and other links.
  • Make sure all items are turned on below page content:
    • Do Not Display Title
    • Do Not Display the Featured Image
    • Do Not Display Subtitle
    Starter templates: hide title, subtitles, and featured image
  • Remove Breadcrumbs. You are NOT expected to do this, but it does need to be done which is why it is always good to tag a web team member in Pardot to review a page prior to publishing. However, if you are an experienced user, there are instructions below. Add this CSS to the Kadence Blocks Controls > Page Scripts. See the Instruction gallery images below.
    .breadcrumbs {display: none;}